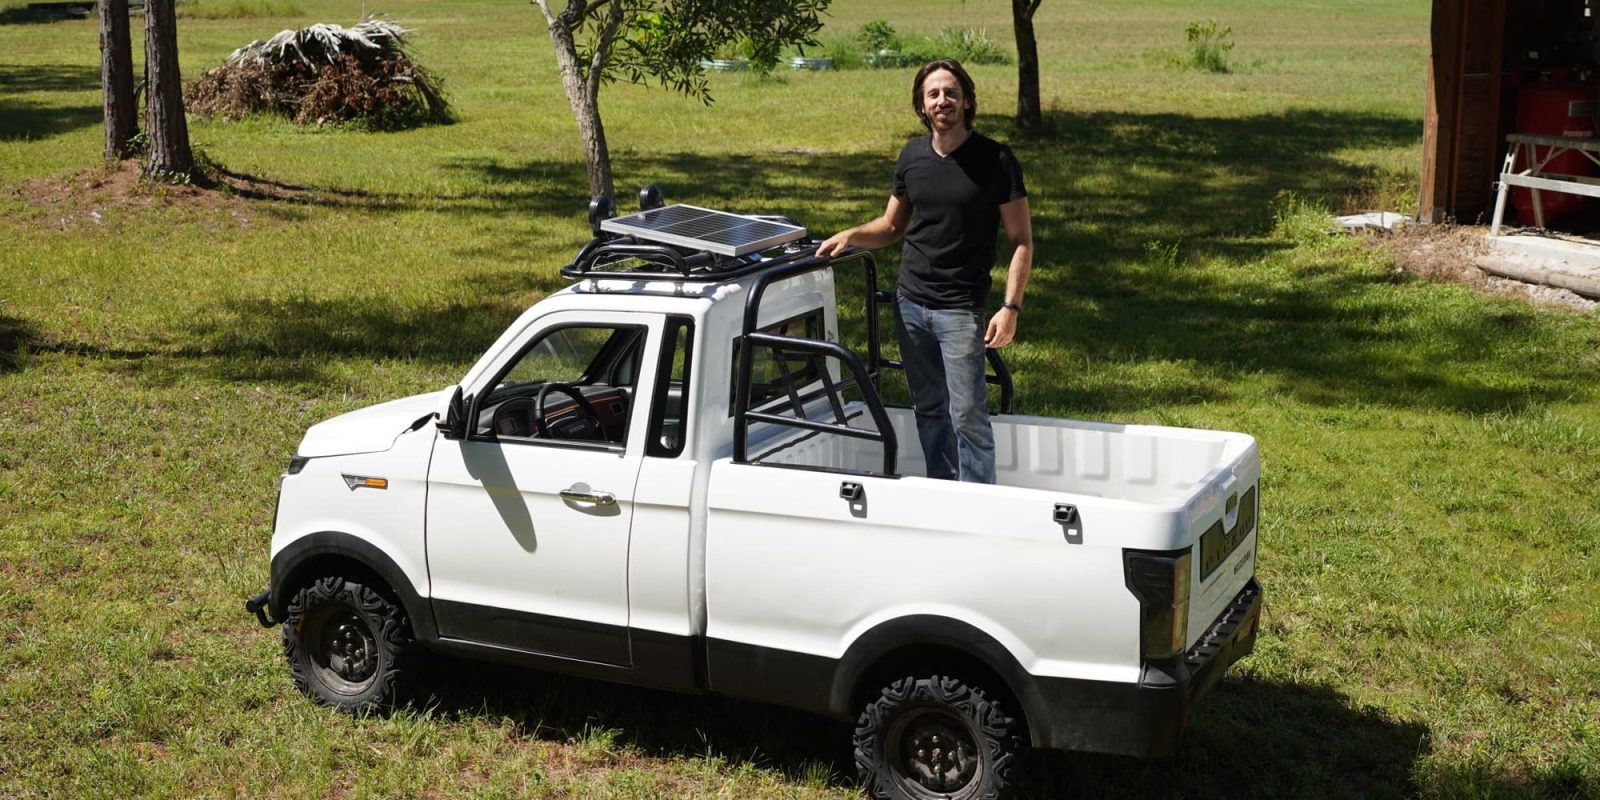
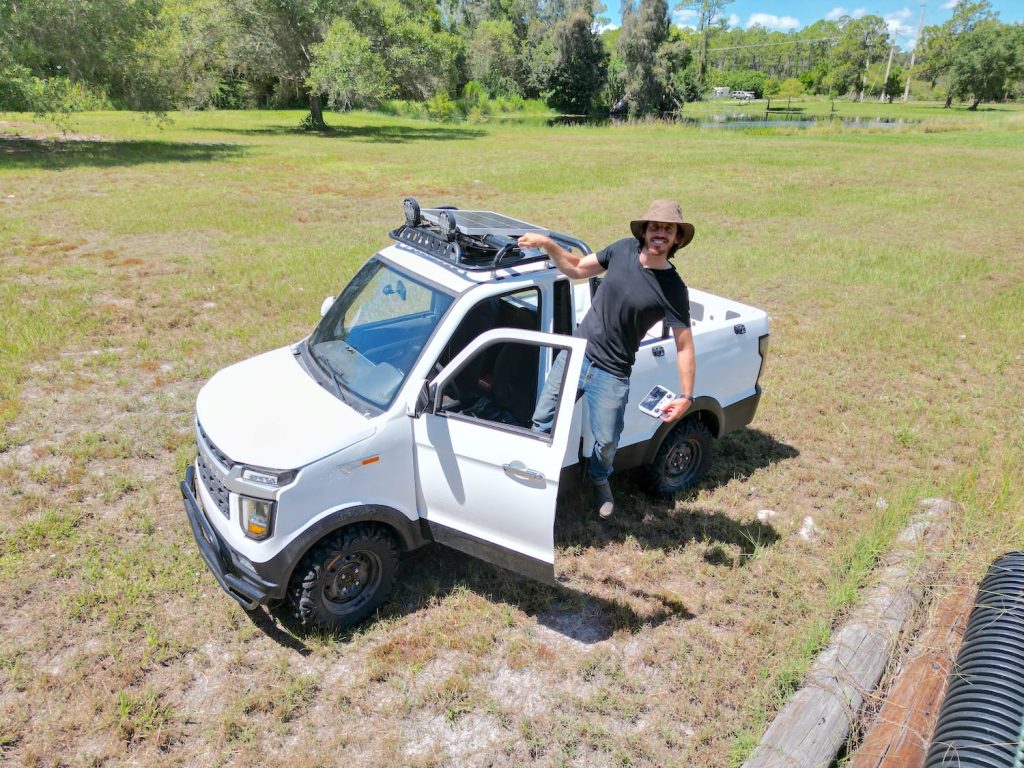
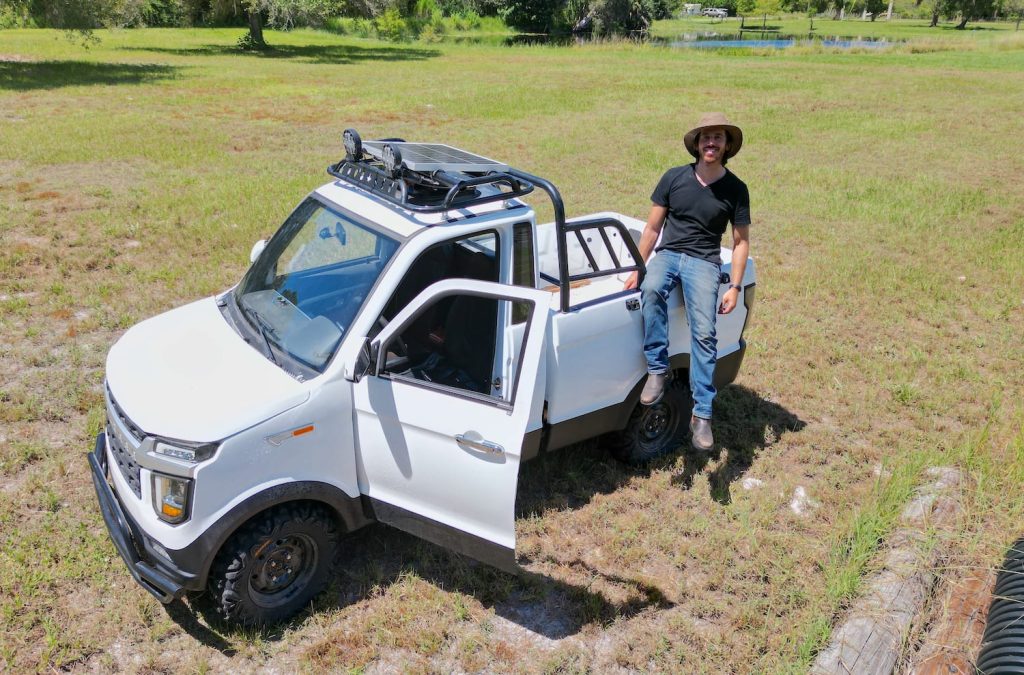
It’s back! The electric mini-truck that keeps on giving has another fun trick up its sleeve. With a bit of DIY magic, I was able to outfit my Chinese mini-truck with a solar panel that can trickle charge it from the sun.
If you’re aren’t familiar with this unassuming little mini-truck, then here’s the background: I found it on Alibaba back in 2021 and paid the Chinese vendor it came from $2,000 to make it mine.
It went through a long saga of being shipped to the US, which cost slightly more than the truck itself, but it eventually arrived in Florida where it’s been living out a hard working yet rewarding life on my parent’s ranch. There, it mainly serves as a work truck on the property, though sometimes it heads out just to delight the neighbors. Everyone loves this quirky little thing.
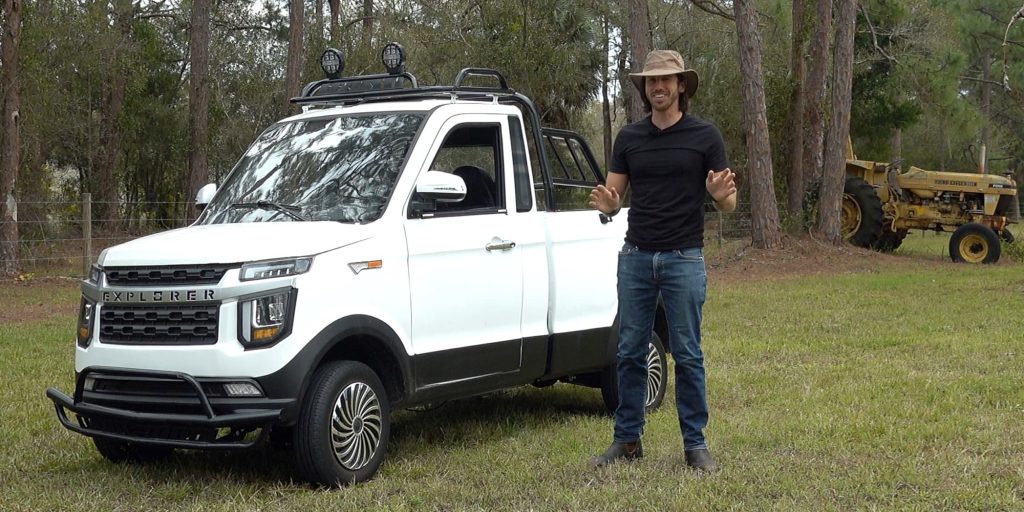
The electric drive means that it is quiet, largely maintenance-free, and doesn’t require any trips to the gas station to fill up.
That last one is important since it isn’t even street legal, and hence why it lives its life off-road as a work truck.
The fairly large (for a mini-truck) 6,000 Wh battery generally provided around a week or two of use before needing to be recharged from a typical 120V wall outlet.
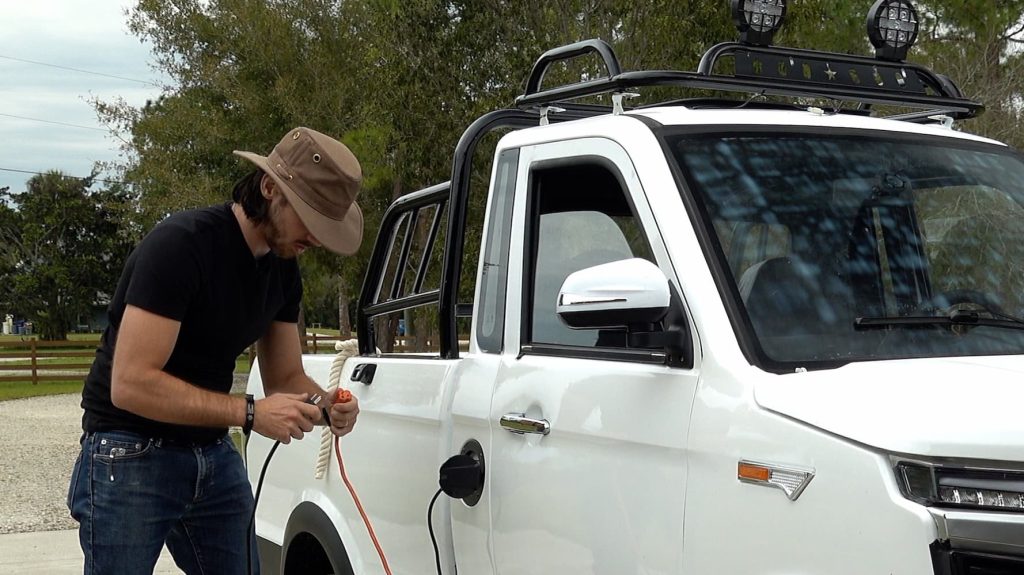
That was fine, though it was a bit annoying to wait all day for it to charge.
So I decided to try to take advantage of the plentiful sun that bakes its roof rack each day while it sits outside. To do so, I got a small solar panel to mount onto the roof rack.
I figured if I could just let it trickle charge while it’s sitting out in the sun, then I wouldn’t actually need to plug it in for a big charge of the LiFePO4 battery nearly as often.
You can follow along with the process of installing the solar panel on the truck in a video I filmed of the project, or just keep reading for the details.
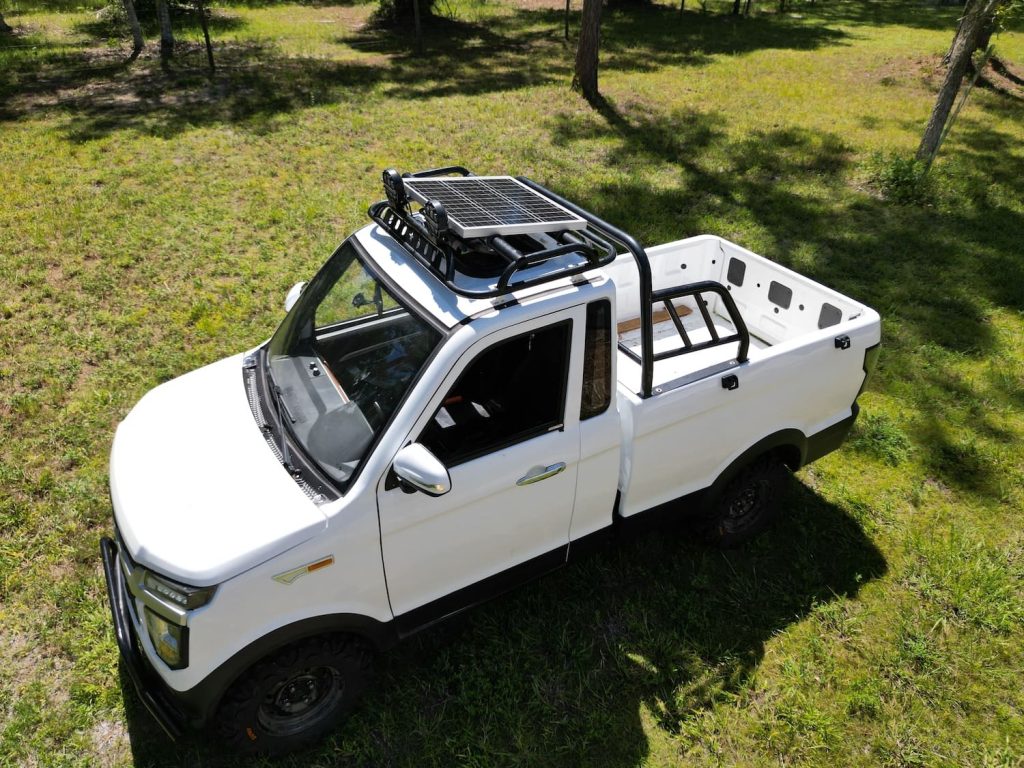
The largest panel I could find that didn’t extend past the existing roof rack was a 50W Renogy solar panel. Not exactly huge, but it would be just fine for trickle charging. Assuming around 35W of solar energy (they don’t call Florida the Sunshine State for nothin’!) for eight hours a day, I figured I’d get nearly 300 Wh of trickle charging per day.
Considering the truck only drives a few miles per day while it stays within a 10-acre ranch, that would probably account for around half of its daily use. It wouldn’t take it completely off-grid, but it should stretch out the time between charges by around double. And the panel would be small enough that it wouldn’t impact anything else on the truck or extend past the confines of the existing roof rack.
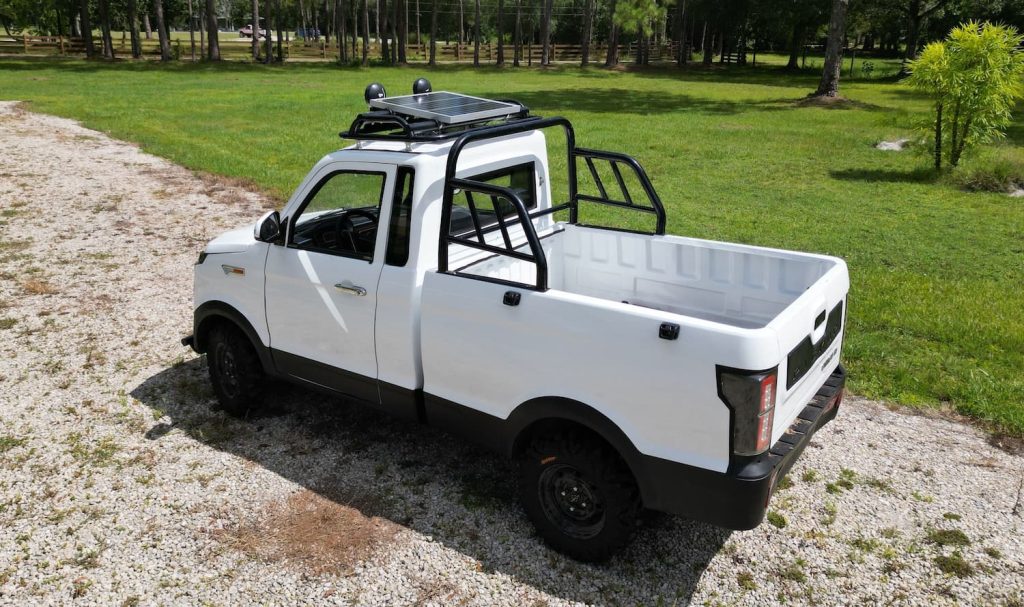
I was able to mount the solar panel by using PVC pipe to create struts across the roof rack. After painting them black, they basically looked like the existing steel tubes and make the installation appear more like a factory job.
The pipes also allowed me to angle the panel slightly, meaning I can park the truck facing north when I’m not using it and get a nice southernly angle for higher solar efficiency.
To increase the roughly 18VDC coming out of the solar panel to match the charge voltage needed by my 60V battery in the mini-truck, I used a solar charge controller. It’s the same one I used in a previous solar electric bike project, and it’s way more powerful than I need. But the extra power means that if I ever want to create a carport or other installation with a few larger solar panels on it, I could plug them in directly to the truck and get a higher charging rate when parked near the solar array.
The actual process of connecting everything is pretty darn simple. The solar panels plug into the charge controller, which itself plugs into the battery’s charging port. I was able to access the charging port by using a spare plug under the mini-truck’s charging cap (I still don’t know why the mini-truck came with two different charging ports wired to the same circuit, but I was happy it did). The most difficult part was just peeling back the interior lining of the truck’s cab to hide the wiring that ran up to the solar panel.
With the installation complete, testing showed that in most conditions I could get between 30-35W of power. At one point I reached 45W when the sun was its highest point in the sky, though 35W was a more realistic figure on average.


Since the solar panel installation, I’ve found that the charging period has basically doubled.
If my family charged the truck around once every 10 days or so in the past, now we can get away with doing it once every three weeks or so.
A panel that was large enough to completely charge the truck would be nice, but I didn’t want one so big that it could get in the way of the bed since we use the truck nearly daily for hauling things around the property.
Top comment by Doug Bostrom
We have a number of the identical Renogy panels installed to power wifi repeaters at a salt water harbor where-- being mounted on dock pilings and given tidal range-- they're often only about 3 feet off the water. With storms blowing spray, they're basically routinely soaked in salt water. They're still pristine after ~3 years. Renogy makes good stuff for a decent price.
The bed also has a hydraulic ram that lifts it up about 45-degrees in dump truck form, and so I couldn’t have a panel extend too far back.
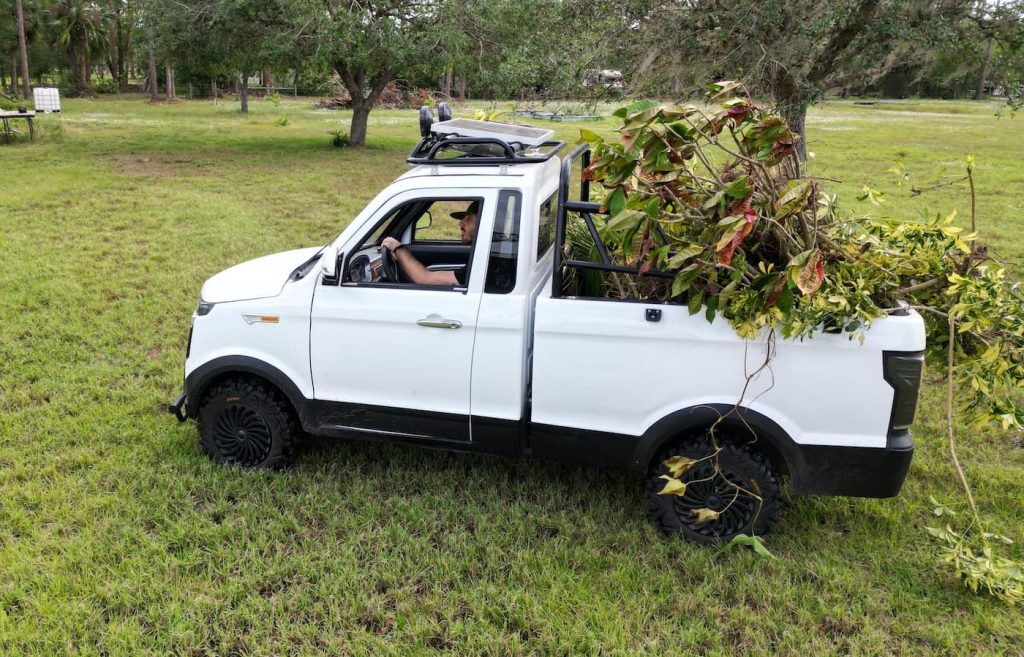
I’d say that the project was quite successful, and it demonstrates that solar charging on vehicles can be effective if the vehicle is low enough power (my truck is around 5 hp).
Conventional solar electric cars can’t really compare, since a day of sun just isn’t enough to fill a reasonable portion of their massive batteries. But if you’ve got a small EV like a mini-truck or an e-bike, especially one that doesn’t need to go too far each day and generally stays in one area like this, you can actually make an impact even with a relatively small solar panel.
For anyone who ever wanted to try a DIY solar charging project like this, I’d definitely recommend giving it a shot. It’s surprisingly simple and easy to do. It’s also hard to describe the rewarding feeling of stepping back to admire your work afterwards, watching your device “magically” charging without being plugged in. Or at least, without being plugged in to the wall.
FTC: We use income earning auto affiliate links. More.



Comments