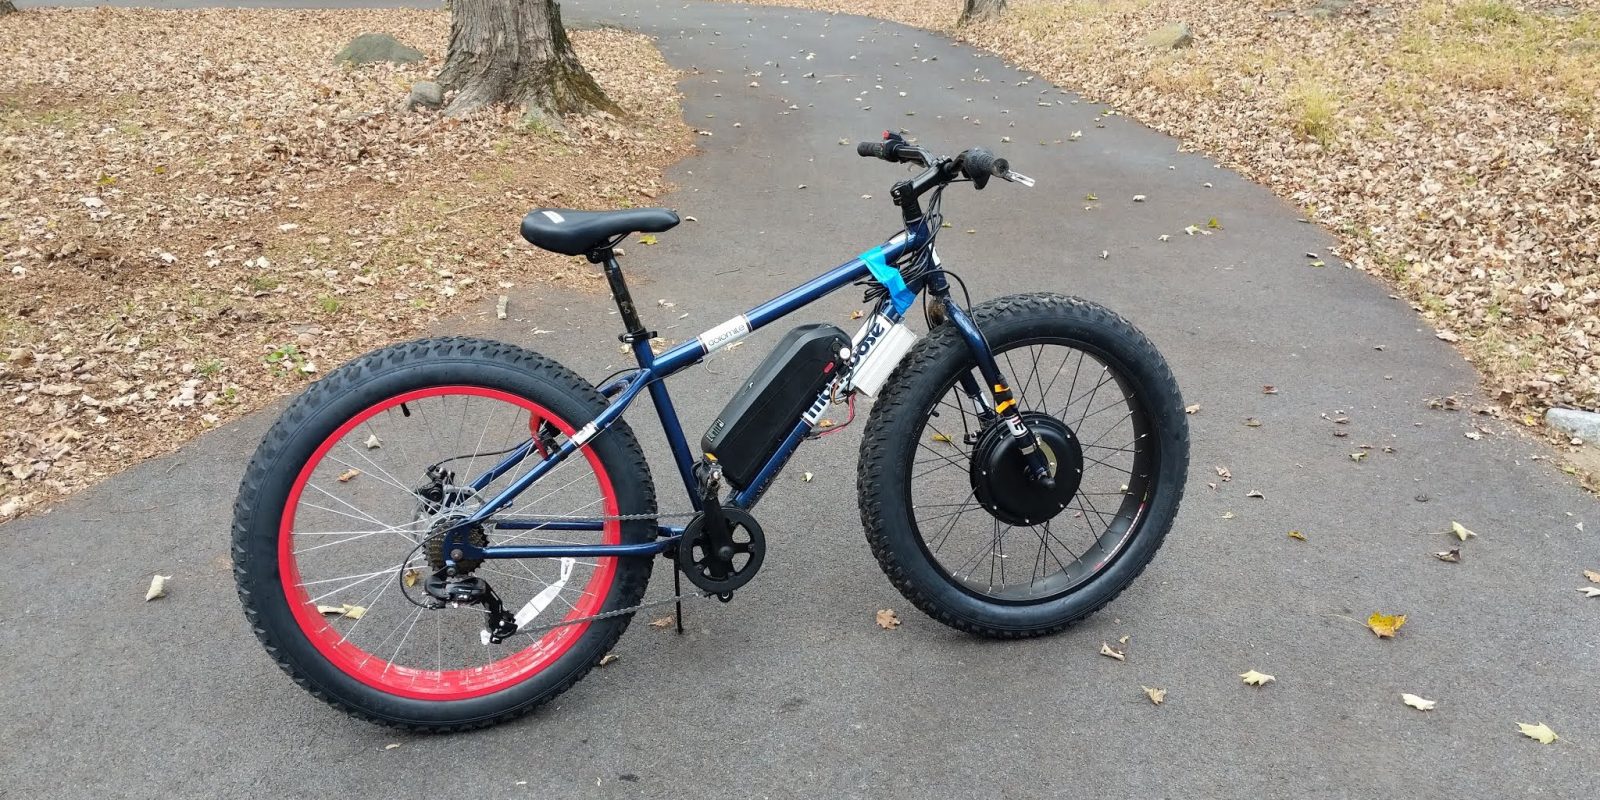
Winter is coming fast here in the Northeast and my ebike coffee shop commute is going to be impossible soon with my daily ebike. I was intrigued by a post in May by Micah which touted a fat tire ebike for $700. I decided to start there and tailor the build to winter needs while still keeping it at around $700. What I wound up with is a ton of fun…
I should note at the outset that Mongoose contacted us after the original story ran and told us that their Dolomite bike hadn’t been tested as an electric donor bike. However, doing some research on the ol’ internet showed that a ton of people had used a Dolomite with success due to its strong steel design and specifically strong front fork. Just in case however, I opted to add not one but two torque arms to the front of this build and upgrade the disc brake to something more substantial. Continue at your own risk.
Ingredients:
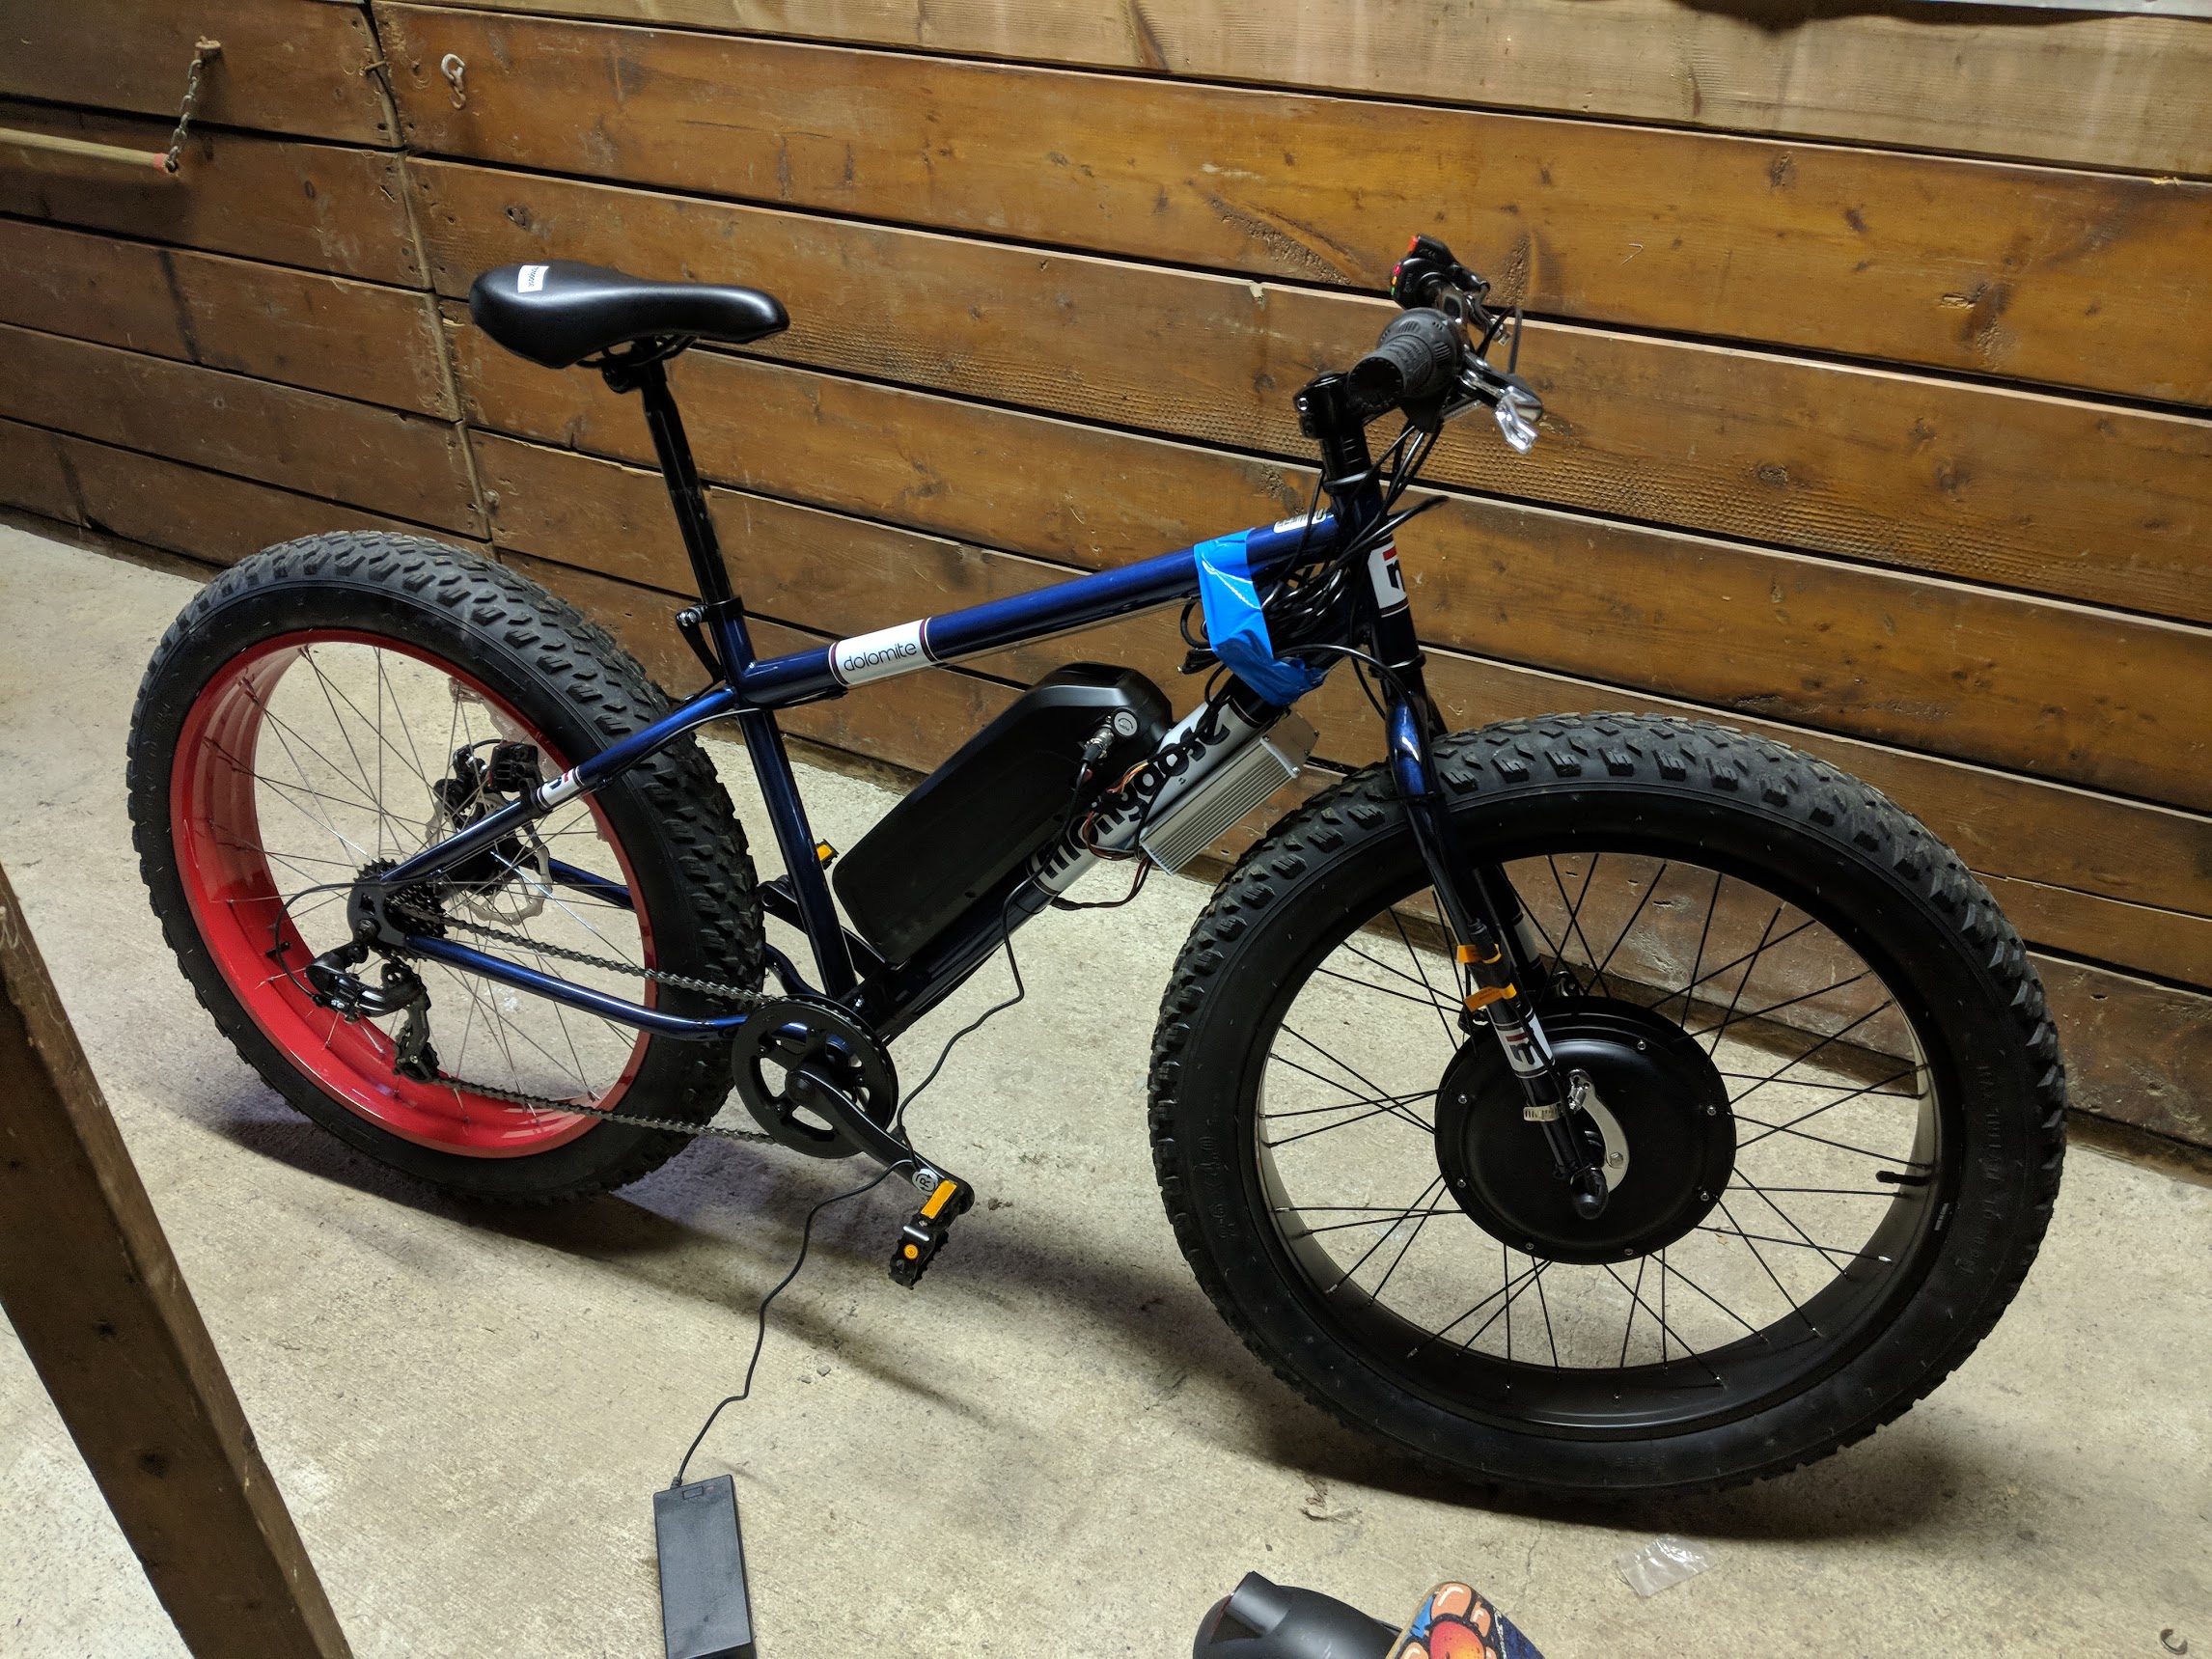
So here’s the build you see before you:
- Donor bike: Mongoose Dolomite picked up on eBay (during 15% off site-wide sale) with 1 week shipping at $196, weight: 48 lbs. (the Hitch has lighter wheels for $208 at Amazon)
- Motor/wheel/controller. Front Wheel Black 48V 1000W kit 26-inch Fat. This kit comes with everything you need to convert the Fat Tire bike to an ebike except the battery. Amazon has it for $207, weight: 20 lbs.
- Battery: Joyisi 48V 10Ah (=480Wh) downtube mount: $300 – not many reviews on this, but Joyisi makes tons of battery packs and gets mostly great reviews. 10Ah is on the low-end of what I’d recommend for distance, weight: 9.68 lbs.
Optional but highly suggested:
- Torque arms (pack of 2): $16.50
- 160mm Front Disc Brake: $13 – not only improves braking on the heavier, motorized front wheel but also doesn’t require you to lift the disc off of your donor tire
All of the parts came within a week, while the Amazon battery being prime shipped in two days. I first put the Mongoose Dolomite bike together which takes about 15-30 minutes depending on your skill level and tools. I put on the front wheel and rode it around to make sure I had a good donor bike to start with.
This is a 48-pound heavy, steel fat tire bike with basic components including 7-speed rear derailleur with right side grip shift, disc brakes and 18-inch frame. I originally expected Huffy/big box quality but this is definitely a step up.
The big fat tires make up for the lack of suspension and taking this off-road is a thrill even without an electric motor.
Fat Tire DIY ebike, But Why?
I currently ride a 2017 Raleigh Redux IE 5 miles to work in the morning but I don’t feel safe with it on slick or snowy roads that include steep inclines and blind turns. Truth be told I probably won’t ride to the coffee shop most days during the winter but I would like an option if I have the time and inclination (and waterproof attire). I would also like a bike for friends and family to come with me when I ride my Sondors X through the woods or on trails.
Here are some of the decisions that mapped out my choices.
Price
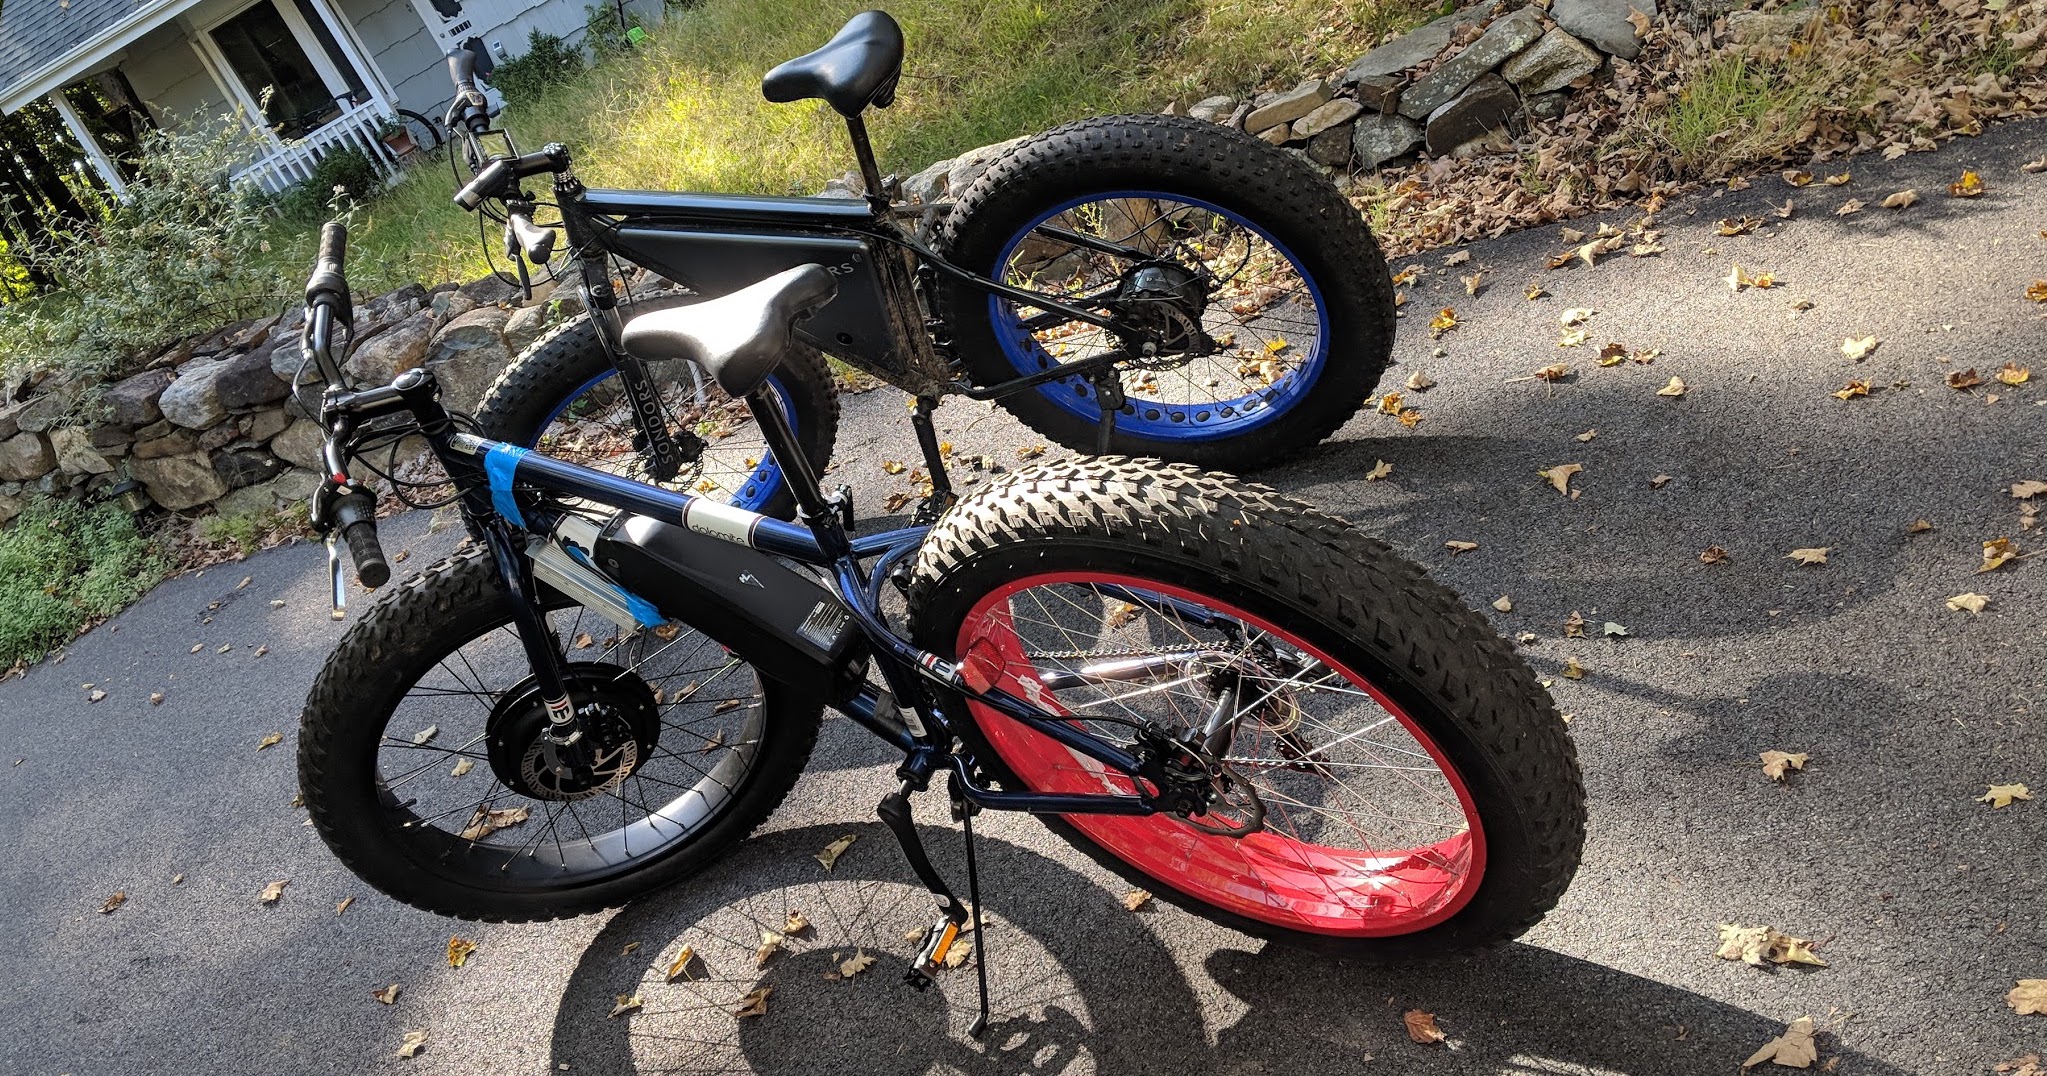
I wanted to keep the price as low as possible since this is a special use bike. Rear wheel drive Sondors X fat tire 500W costs about $1200 for a similar configuration with a nice $100 display and $100 front shocks.
As for the motor, I wanted something substantial. This is a heavy, inefficient bike to start with, so a 250W or even 500W motor wouldn’t have made this fun. A 48V 1kW hub motor is still very inexpensive with full non-battery kits (including throttle, controller, fat wheel and more) costing under $200.
Front Wheel Drive/AWD
Since this bike is for snow and I already have a RWD fat tire Sondors X, I wanted to try a front mounted hub motor. Since I’m still pedalling the back wheel, it becomes an “all wheel drive bike” which should help in snow. Anecdotally, I’ve heard that front wheel acceleration and extra weight helps through turns in snow but I’ll have to wait for the white stuff to test that out. Also the front wheel is a lot simpler to upgrade and since this is my first full build, I’m aiming for simplicity.
Other considerations: I want my 11-year-old son to be able to use this, so keeping it simple with a smaller frame makes sense.
Electrifying Mongoose Dolomite
These instructions will assume you have basic bike and mechanical/electrical DIY experience. You’ll need to have a hex kit, screwdrivers and other basic tools.
Front Wheel:
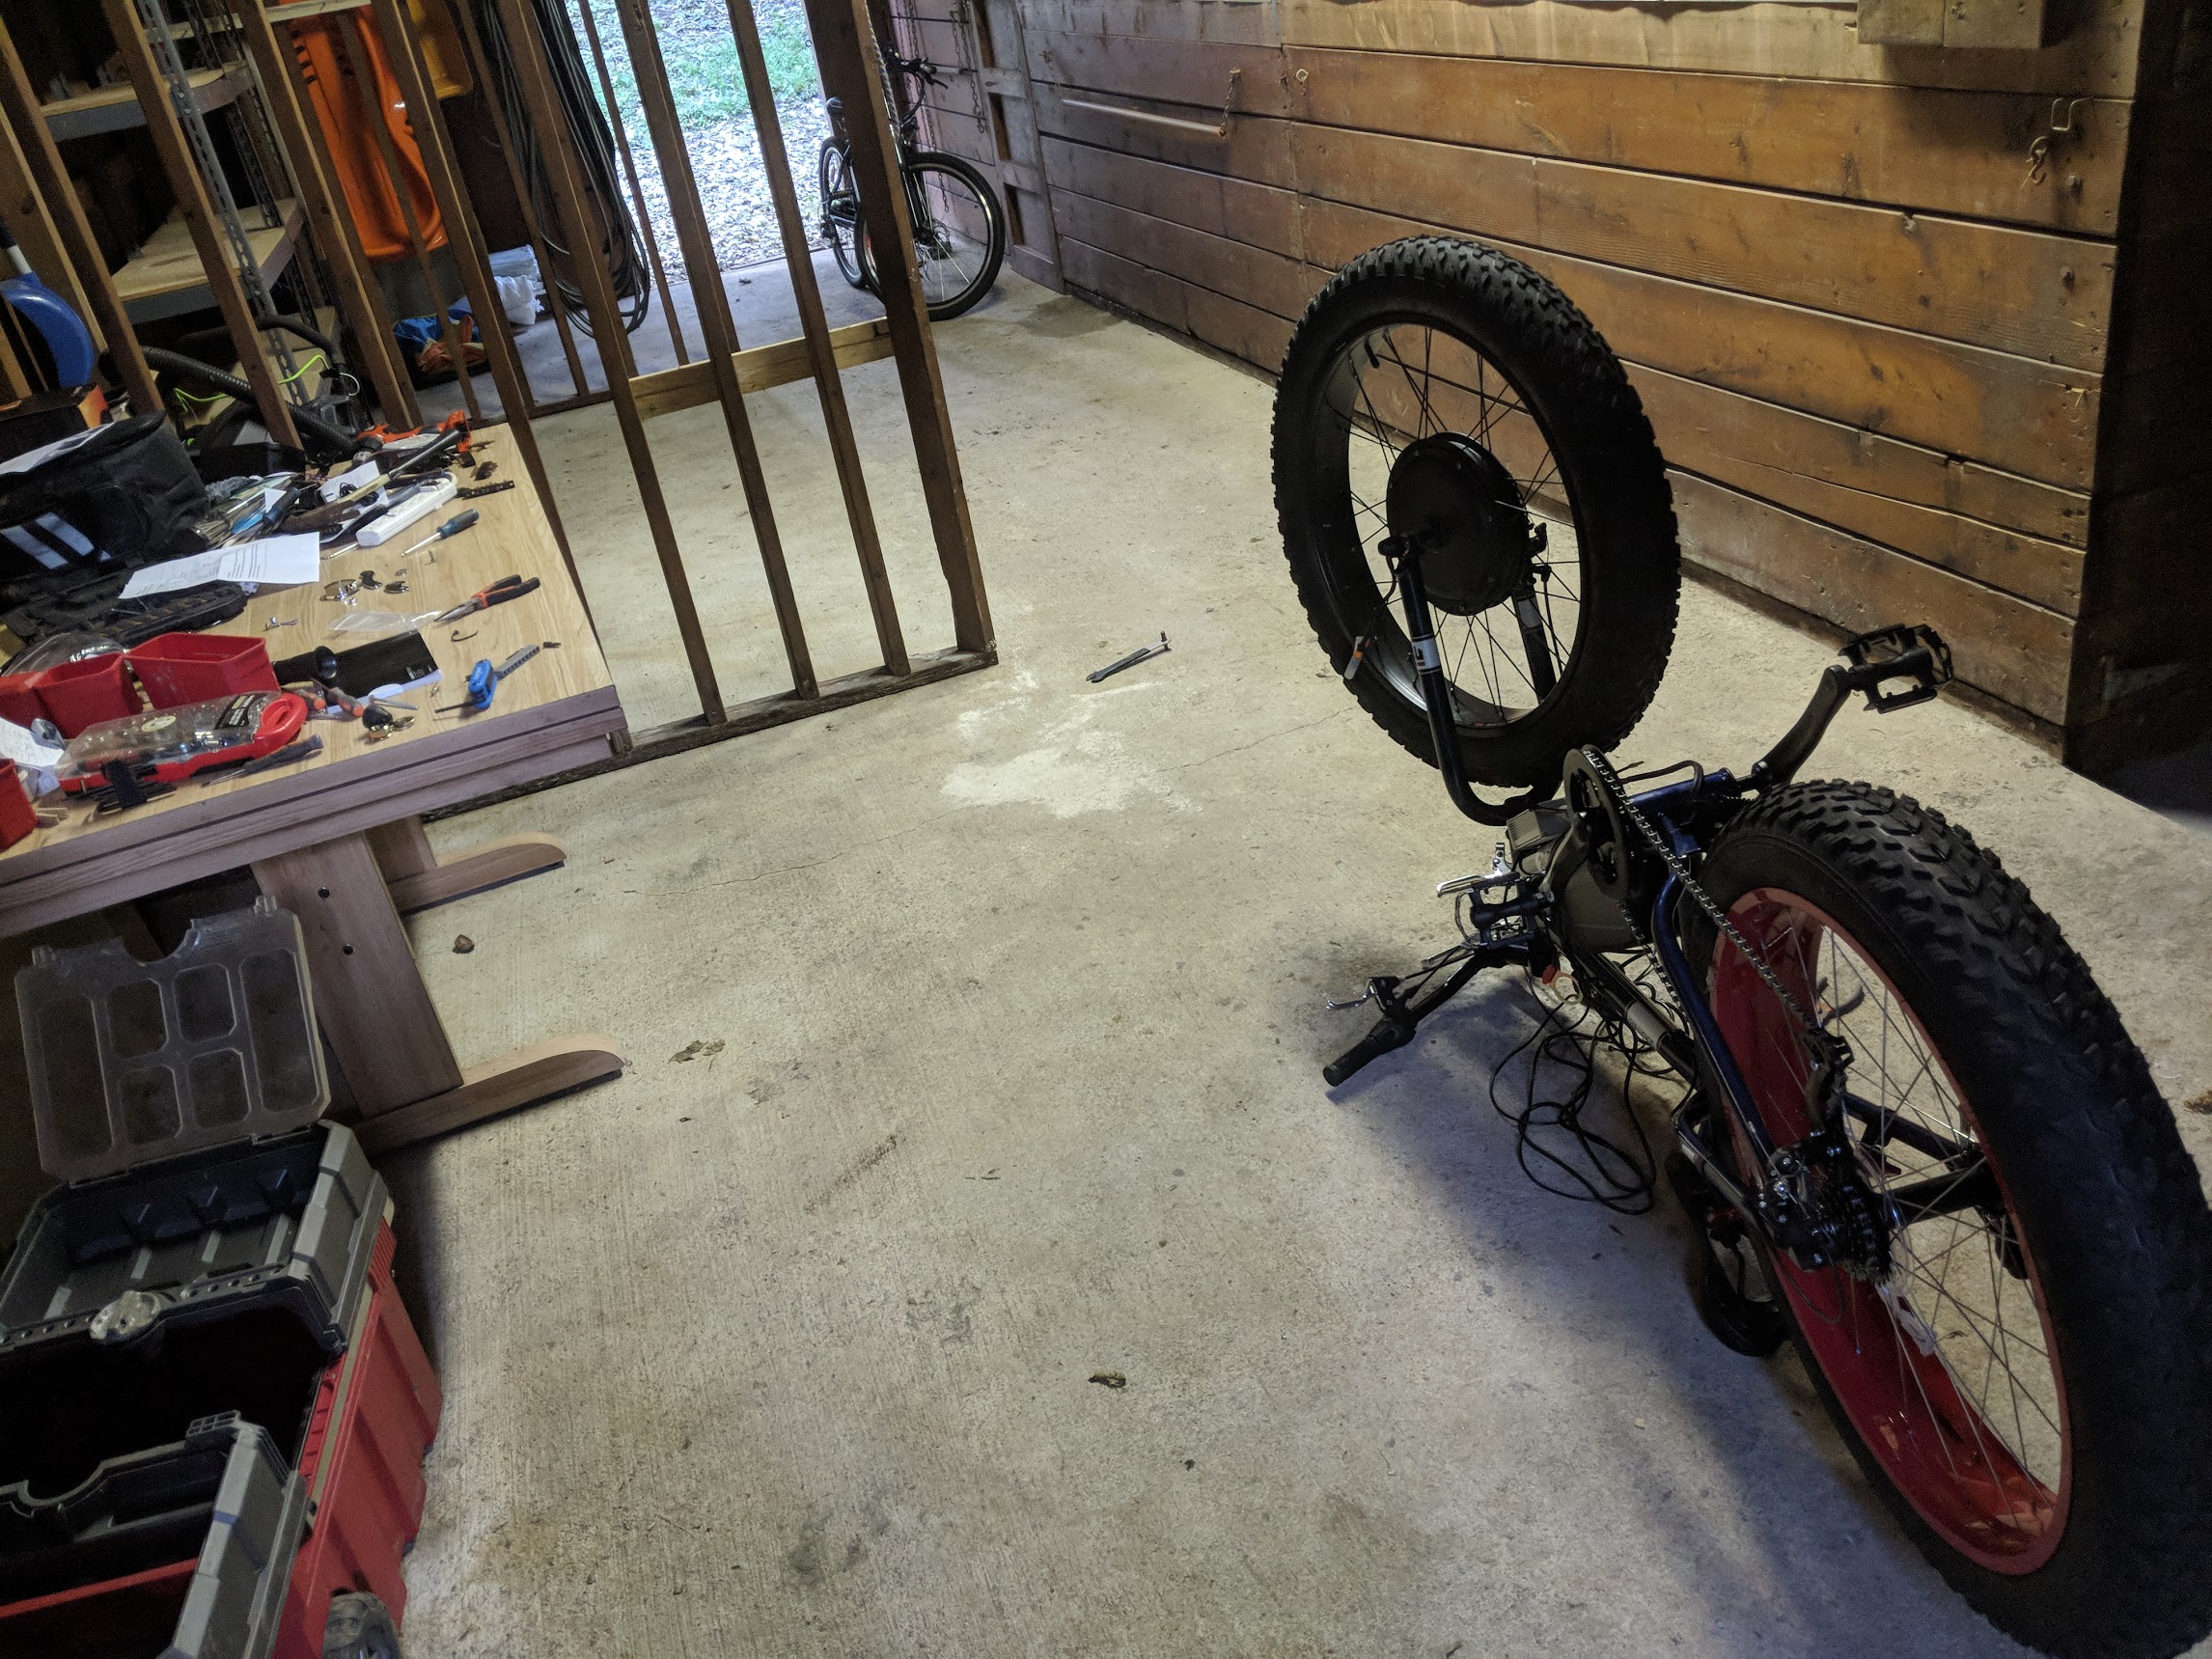
- Flip the bike upside down and remove the front wheel by unscrewing the nuts on the sides.
- Deflate the tire and remove the tire and tube and put them on the black/silver motorized wheel.
- Add the brake disc to the motorized wheel by removing 6 hex nuts. Tighten hex nuts back up.
- Put the wheel onto the fork making sure that the disc goes into the brake pads smoothly. The lead power wire should be on the right side of the bike (when right side up).
- Fasten torque arms to the fork of the bike with included clamps. Screw the included bolts back on.
Controller:
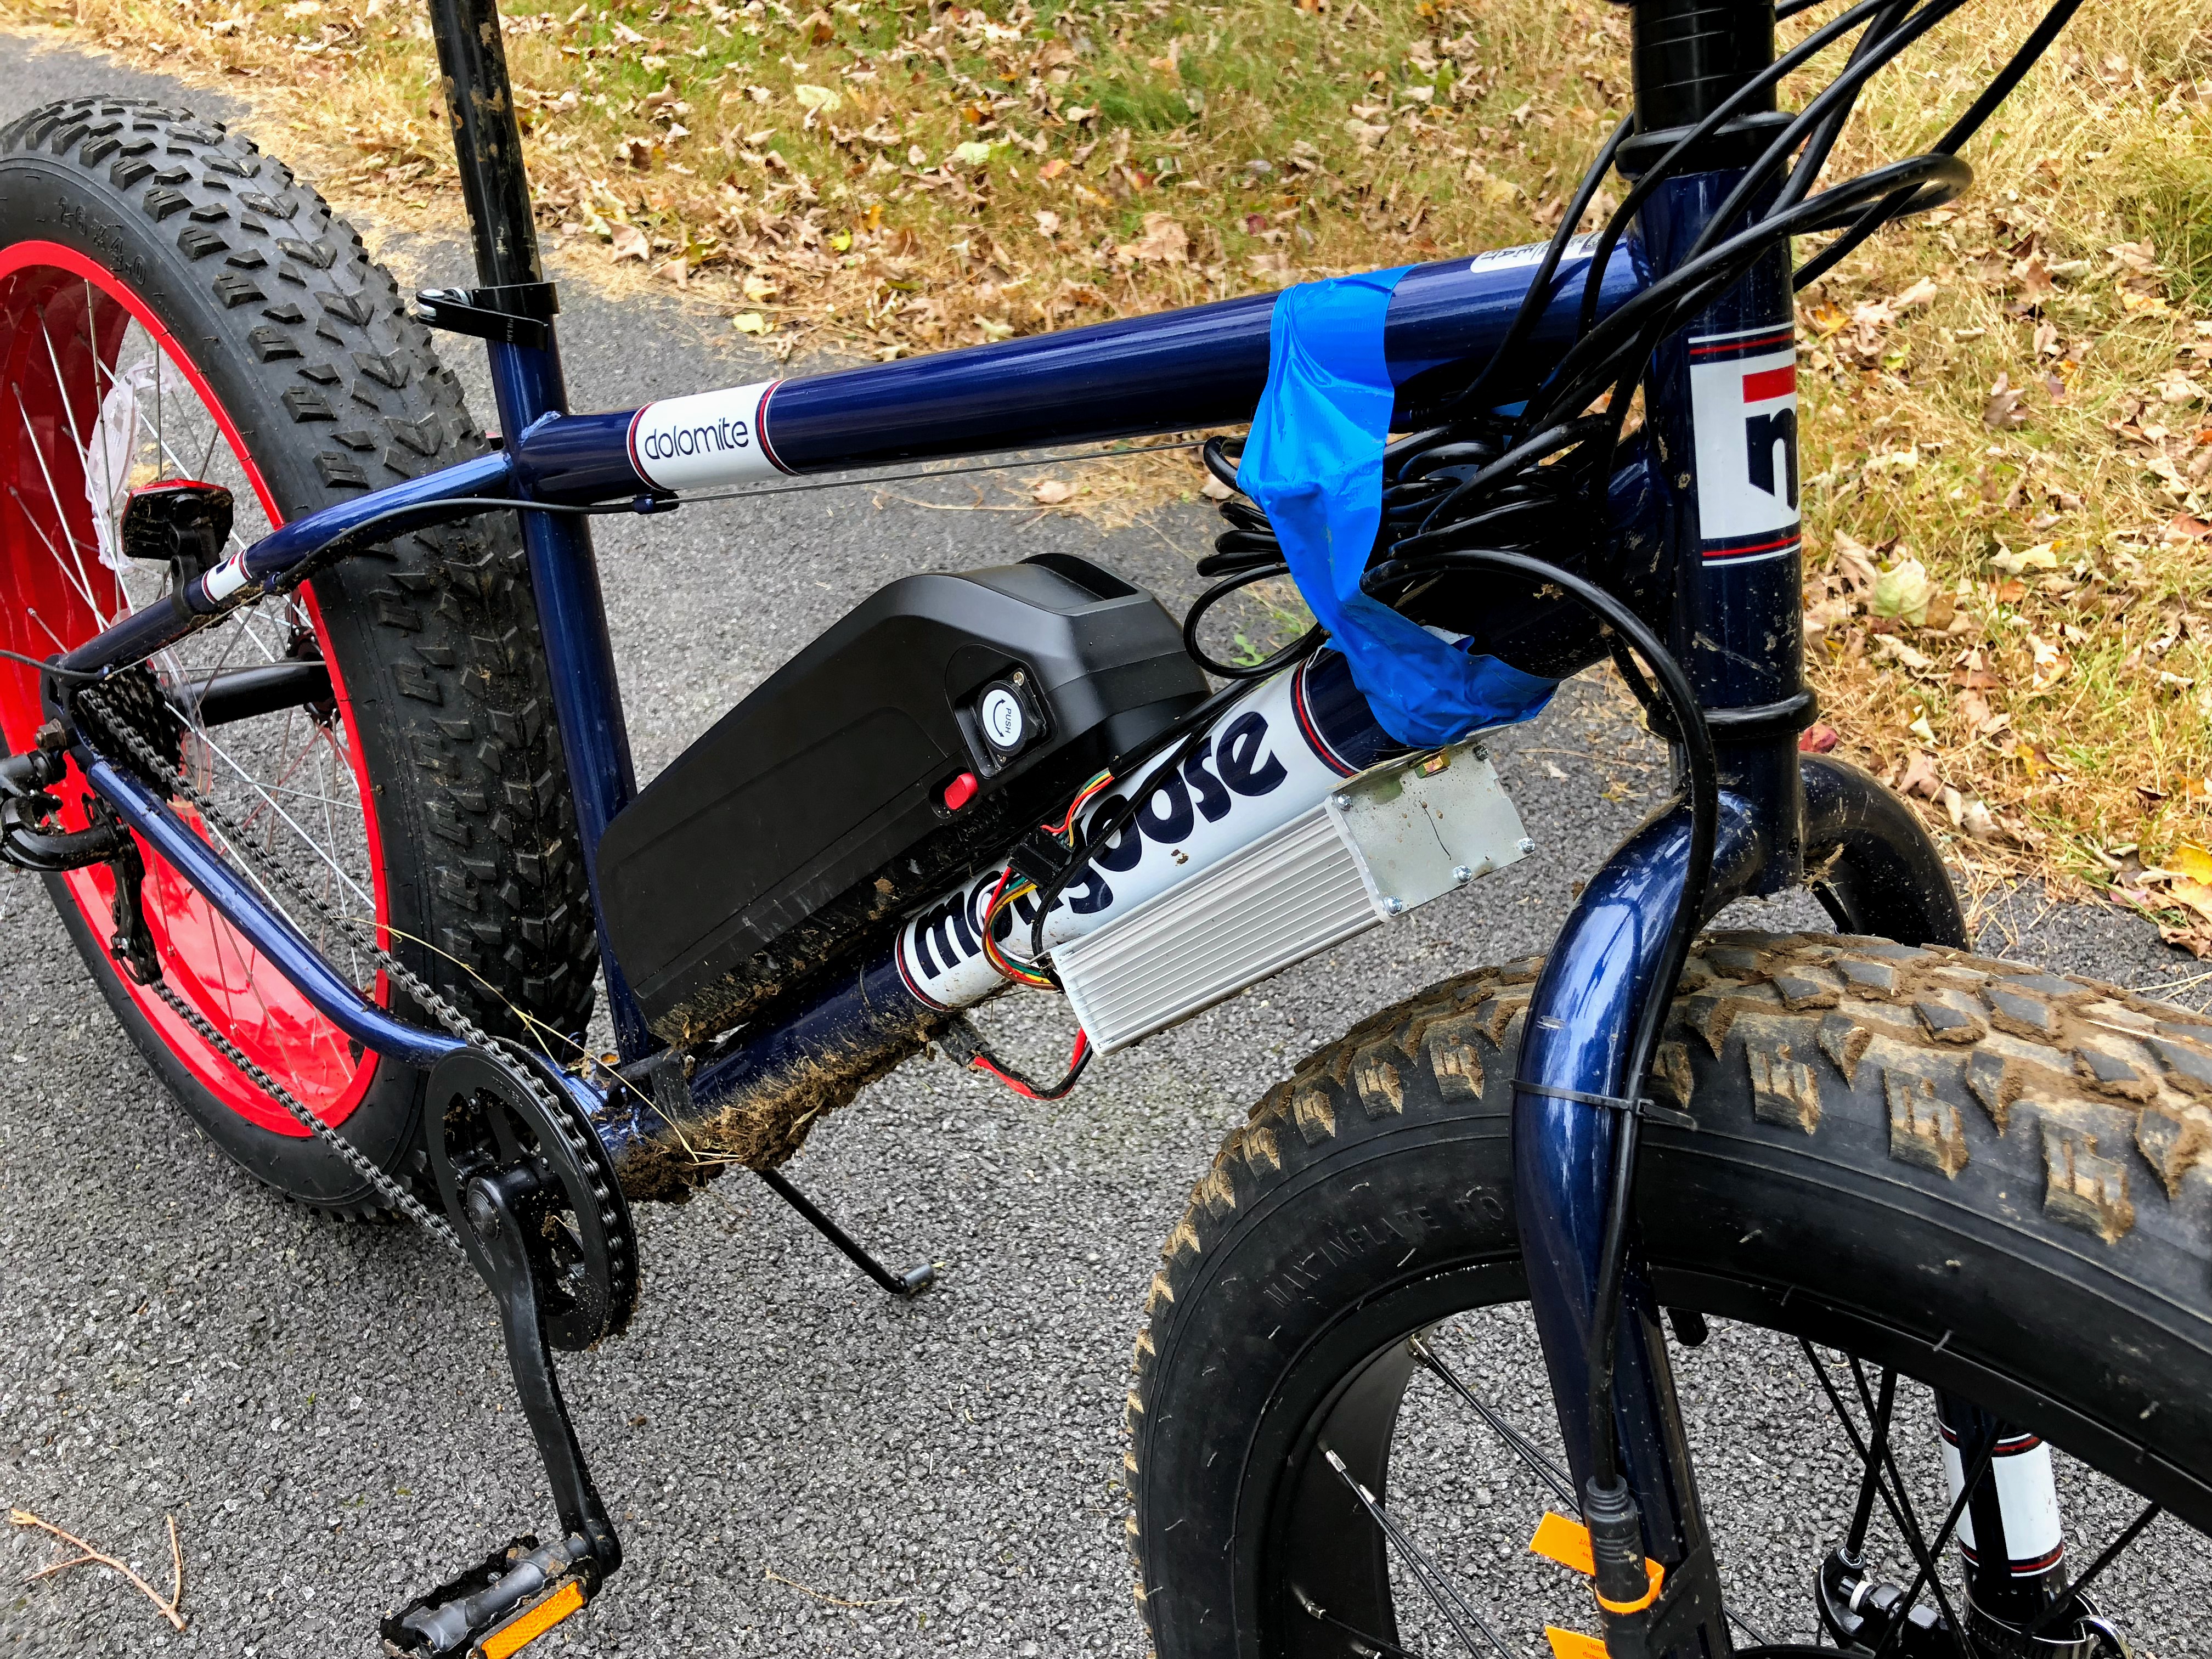
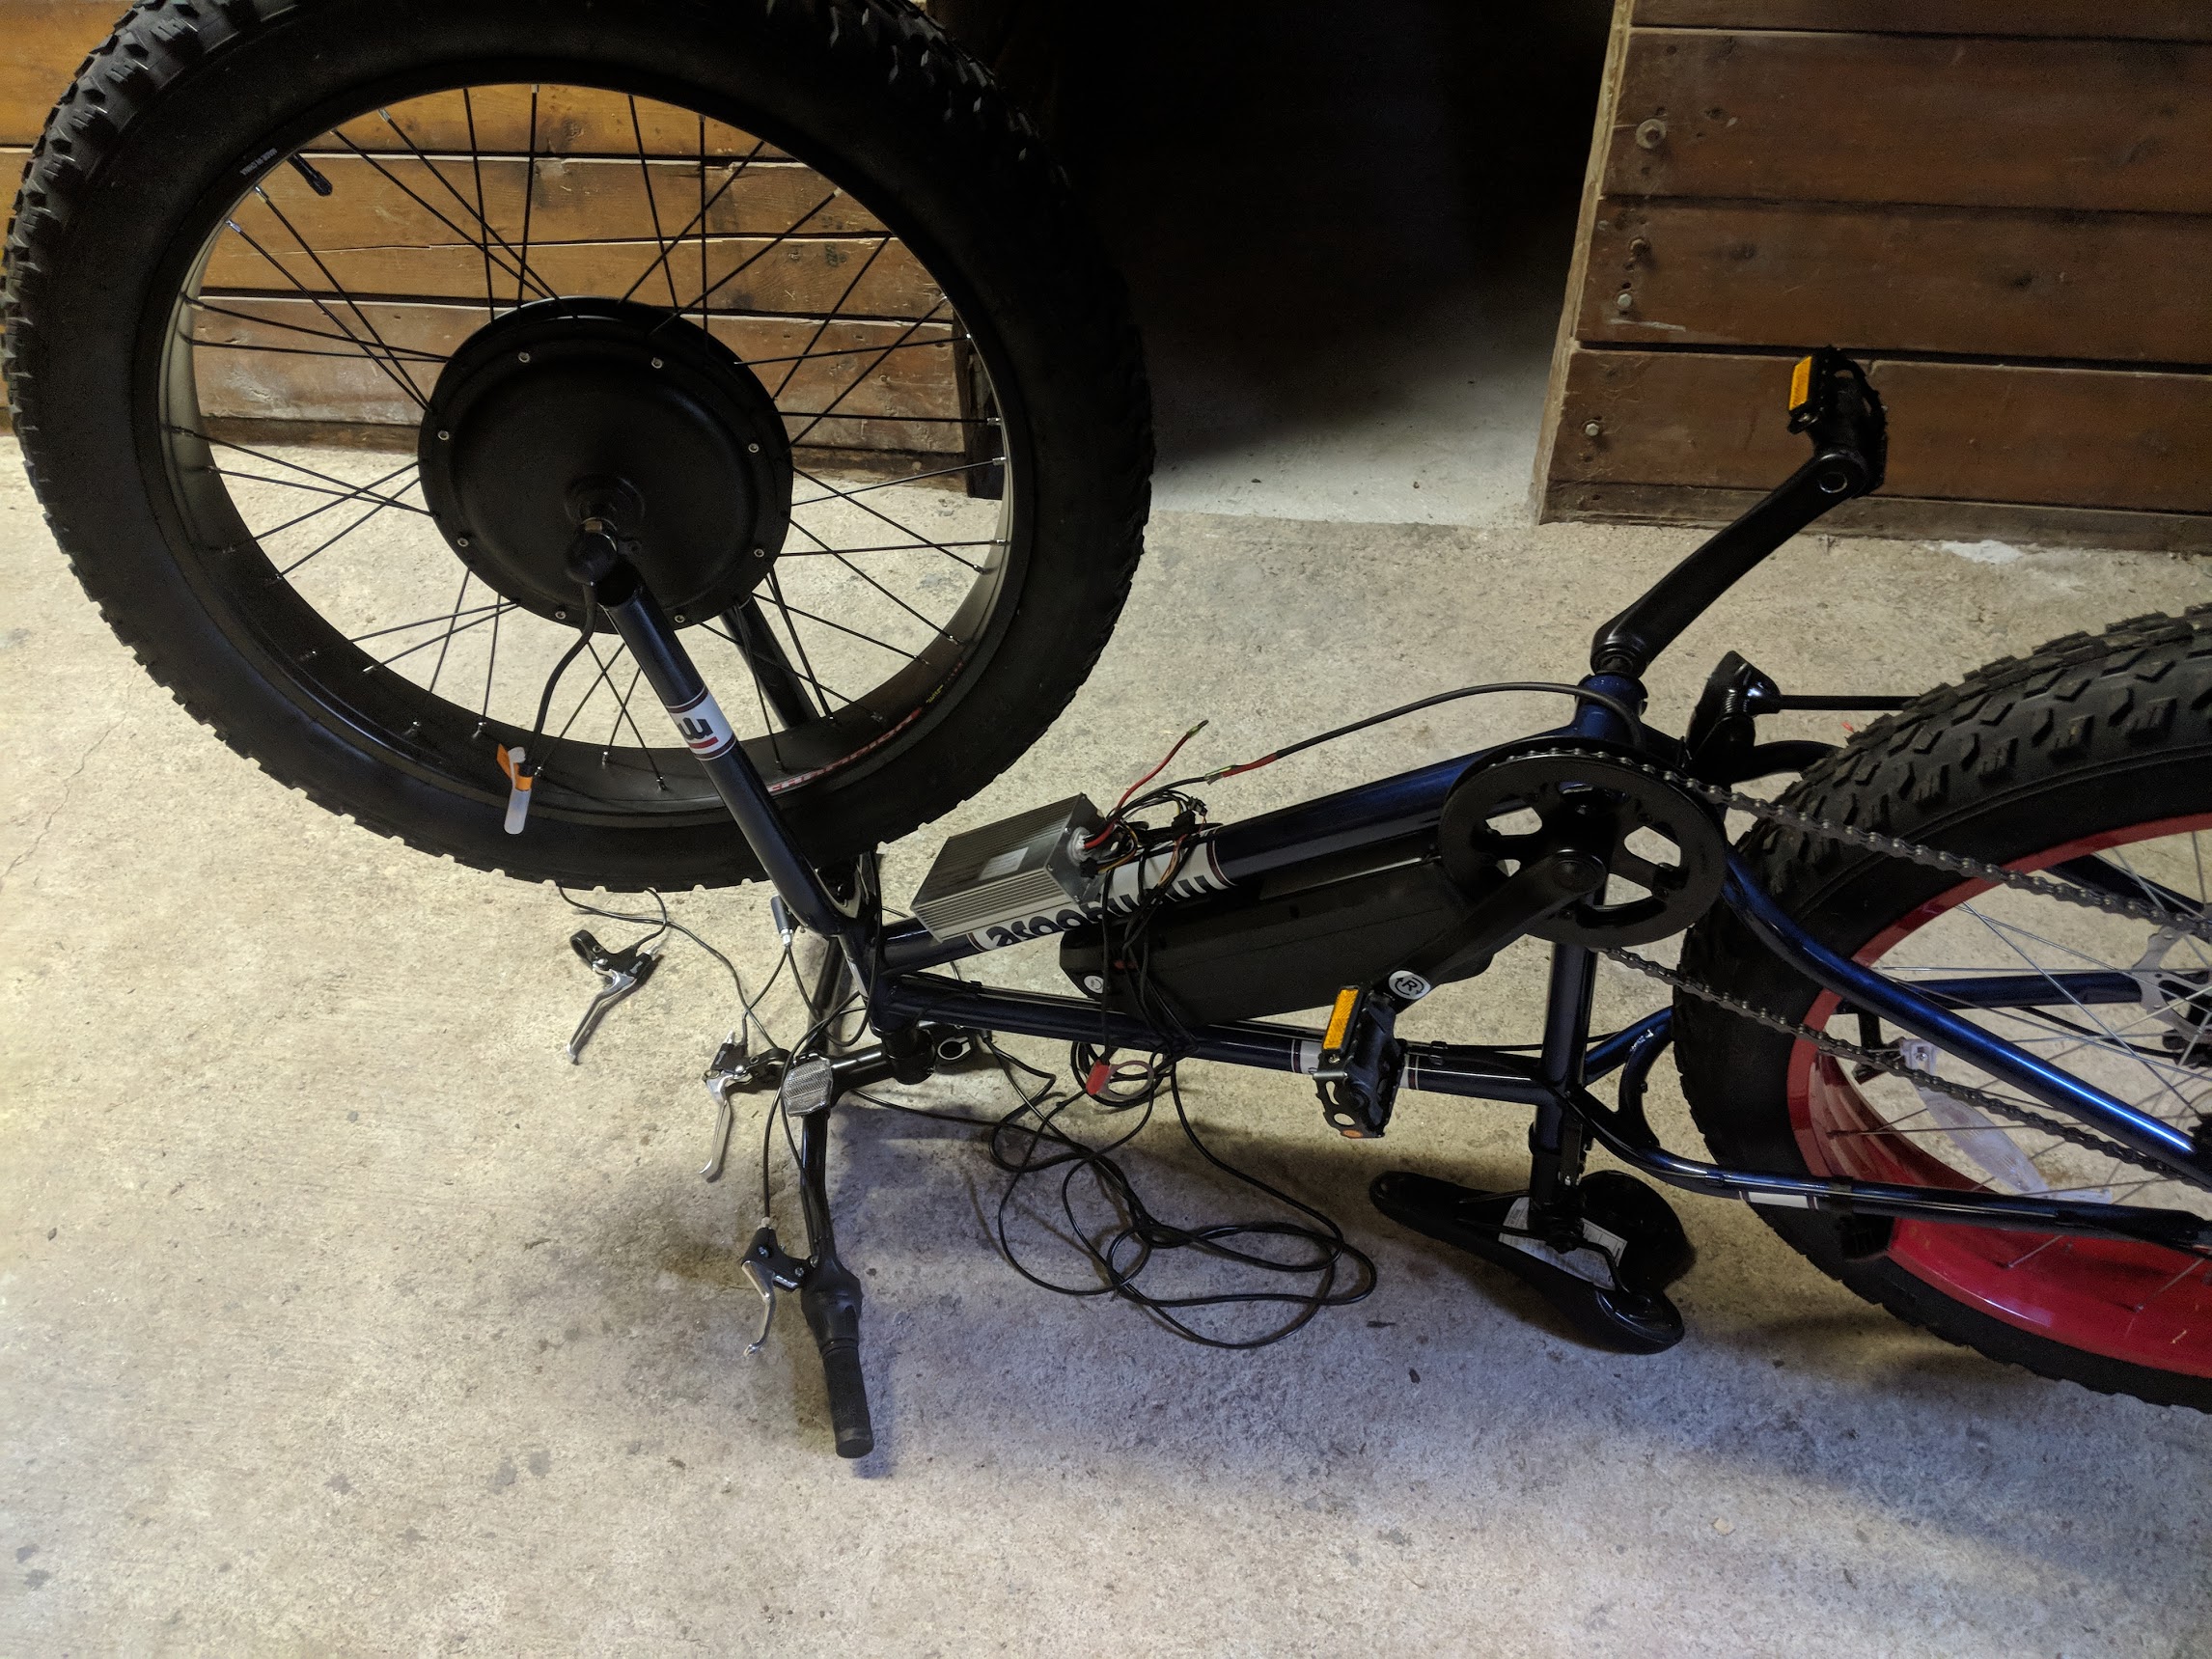
- I mounted the admittedly generic controller on the downtube opposite where the battery is. I’m pretty sure this isn’t the best place to put it, but after trying/failing to put it in the triangle and right above the kickstand, this seemed to be the best place for wiring.
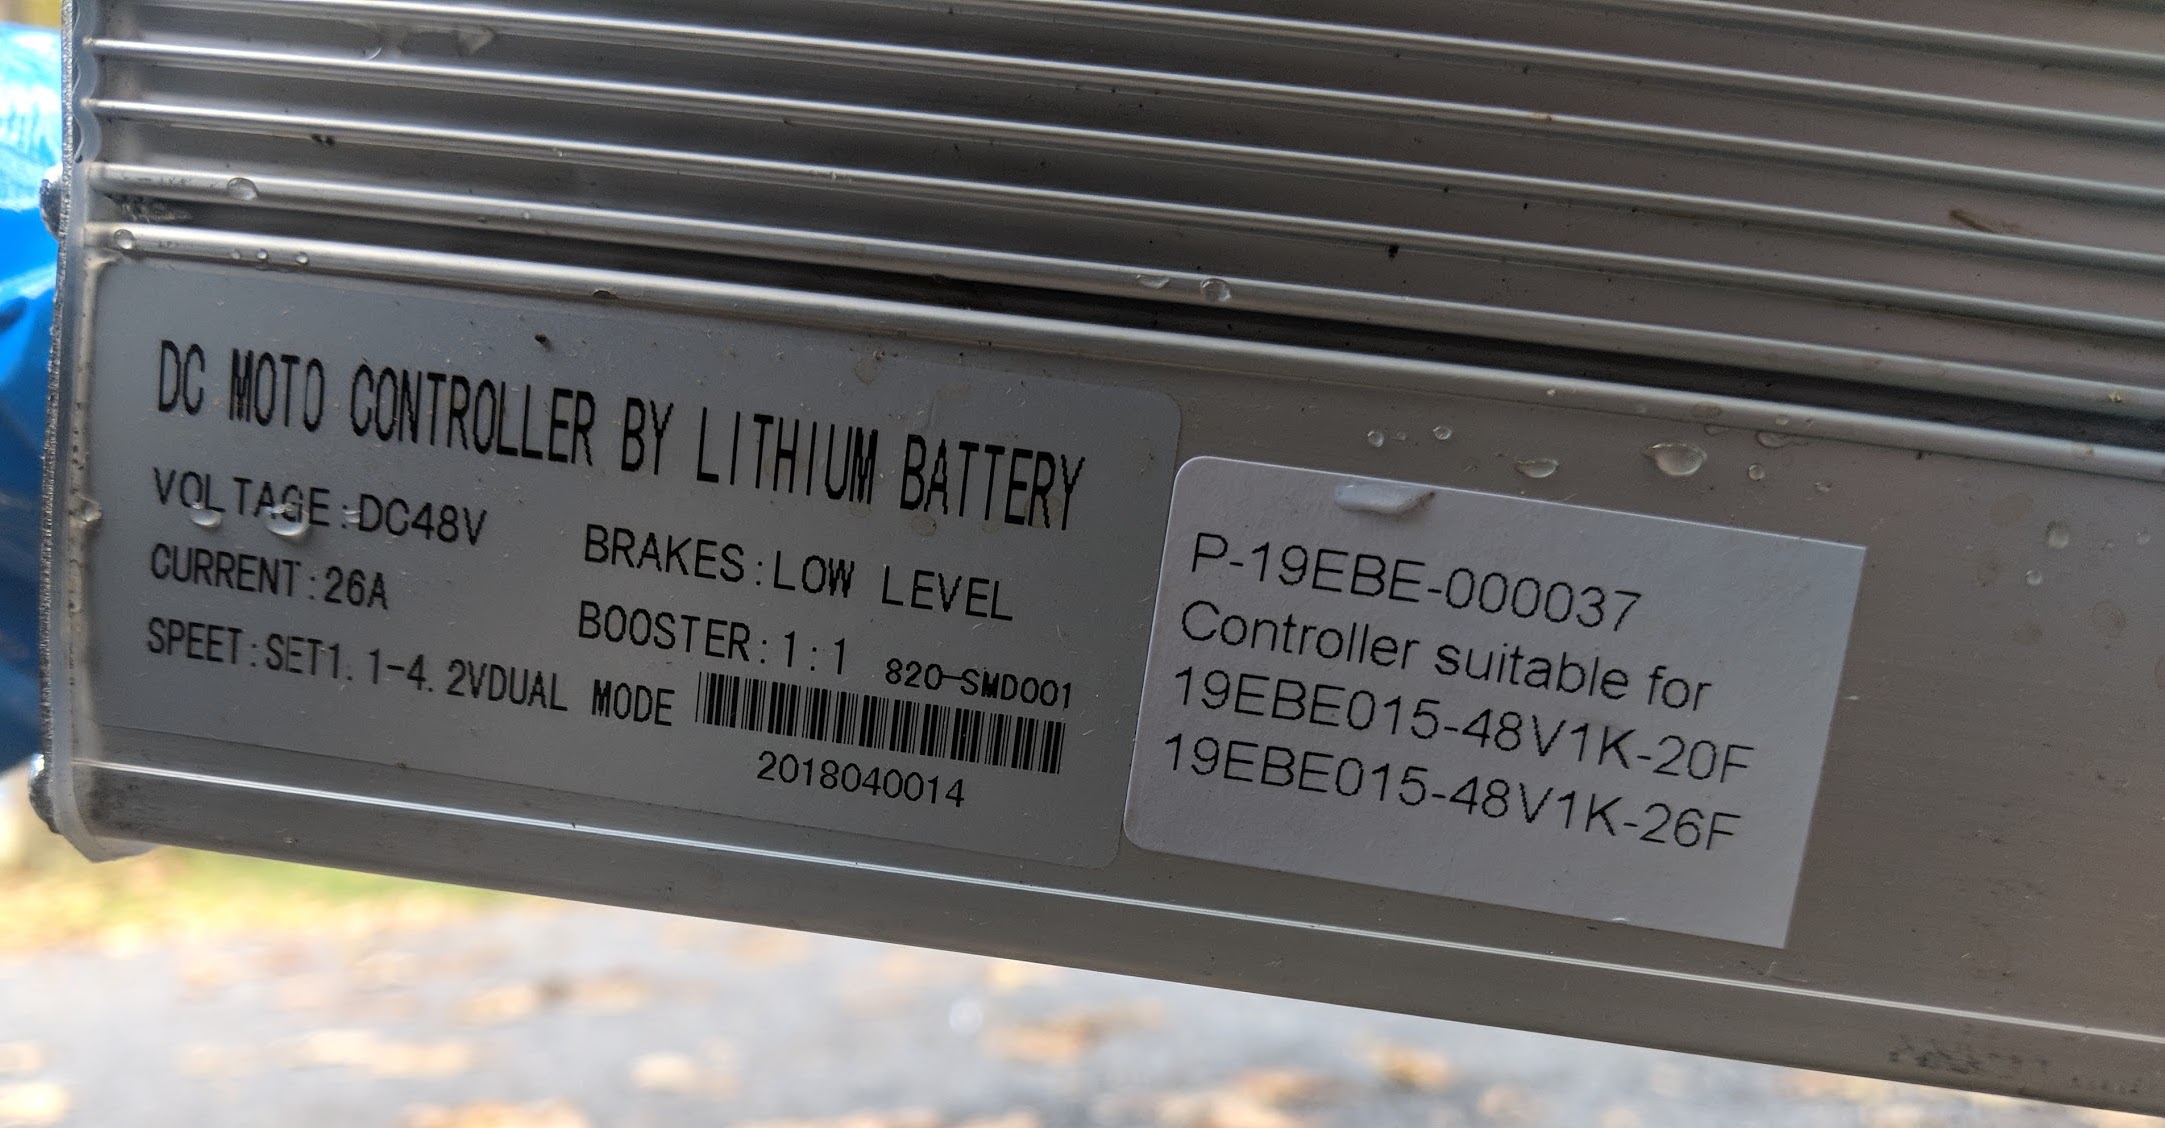
- Simply mark and drill 2 small holes in the down tube and screw it in. If you are handy, use a rivet nut tool to put in some rivets. This is a $700 build so I just screwed them in with some washers. We’ll connect the wiring later but outgoing wires should be pointed downward toward sprocket/chain which will also help to keep them dry.
Battery:
- Flip the bike onto its wheels and put down the kickstand.
- Slip battery out of its holster – you’ll need the included key.
- You will use one of the water bottle holes and a hole you will have to drill higher up to affix the battery to the frame. You might even want to drill a third hole (I only did two and seem to be fine so far). Use washers however to distribute the force over a wider area or those screws might break off.
- To get to the bottom of the holster, you’ll need to unscrew 3 screws that will reveal a metal screw hole.
- Make sure the holster is tight and LEAVE THE BATTERY OFF for now.
Wiring:
- The hardest part of wiring is putting the battery cable under the crank and keeping it tight. You’ll then need to affix it to the big red and black wires coming out of the controller. Make sure you don’t have power coming down those wires either by using a multimeter or just making sure the battery isn’t connected. I soldered the wires and covered them with electrical tape, but you could just use butt connectors.
- Next, run the motor wire over to the fork and down the right side to the motor interface. Make sure the pins are lined up and plug it in. At this point you can plug the battery in and test the motor with the throttle. You should get power to the wheel.
- Run the throttle and the brake up to the left side of the handlebars. You’ll want to pull the Mongoose grip and brake and replace it with the left side brake. Note, you’ll be mounting the throttle upside down on the left side since you’ll want to keep the grip shift on the right. I know this isn’t optimal, but trust me it works out well.
- I personally didn’t attach the right side brake cutoff or the cadence sensor because I want full control of the power output and there are no “modes” in this throttle/controller.
- You’ll want to tie down all of the wiring using twist ties and/or more optimally some clipping. I have some future plans so the bike you see still has a lot of work to do in this area.
Done!
How does it ride?
Overall, it is a ton of fun. In testing I got it up near 30mph on flat ground fairly easily. At that speed however, the front wheel’s imperfect balance turns into a rumbling and frankly this type of bike is reaching the outer limits of its build parameters. I feel comfortable well over 20mph which is the upper limit of the Sondors X, so that’s a win.
The drive train isn’t perfect however. If you gun it from a stop, the motor sometimes vibrates in a weird way then shuts off. However, you can twist the throttle again and it runs fine. I find that a rolling start or a smooth throttle acceleration fixes this issue. I’m 6 foot, 230 lbs. and my son at less than half the weight barely has the issue so it might also *ahem* be a size concern.
After doing some research and talking to Micah, it sounds like a better controller will not only eliminate this problem but will also allow the motor to operate more efficiently than its current 80% and achieve a higher top speed. I can also get regen which will be a benefit for me in my hilly surroundings (and low-end 10Ah battery).
It would also be nice if the controller was better suited to bike mounting rather than its rectangular shape with sharp edges. I’m still shopping around for that perfect controller, but in the meantime my wires are just taped to the bike and don’t look great.
Also, I’m not in love with the battery placement and in future builds I am going to try either a triangle bag or a rear rack mounted battery. This should even out the distribution of weight a little bit and offer a splash guard, storage and rear light at about a $100 price premium. As it stands, I don’t know if I trust the screws in the tube to hold the 4.4Kg/9.68lb battery pack over rough terrain.
The bike weight is a little over 70 lbs. all together which isn’t insane. It is easy to maneuver and not hard to throw in the back of the car or on a sturdy bike rack. I can get about 10 miles of mostly full throttle 20+mph range on flat-ish roads. More with pedal assist and slower speeds obviously. It takes about three hours to fully charge.
Conclusion
I love this thing and am happy to show it off to locals. It has so far been reliable and a fun crowd pleaser over the first 50 or so miles. I’ve taken it on store runs and to dinner parties without an issue.
Even though Mongoose doesn’t endorse this and in fact warns against it, it seems like a build that a big box store or a company that makes inexpensive bikes (like Mongoose!) should embrace. I imagine if this was built as a whole package on an assembly line and could be sold in huge numbers at scale, the total built price could get down around $500 and become a lot more beautiful and reliable. And at that price, we could take a whole lot of bigger ICE vehicles (dirty scooters, motorcycles and some cars) off the street.
Of course, I’m not entirely satisfied with 30mph/48kph so I’m now looking at a 3kW/72V build for spring…or I might just get a Sur Ron like Fred. What do you think? Let me know in the comments below.
FTC: We use income earning auto affiliate links. More.


Comments